
Bulk fermentation is one of those terms that sounds far more complicated than it actually is. Strip away the jargon, and what you are left with is simply this: it’s the period after mixing your dough when it quietly transforms from a rough mass of flour and water into something alive, elastic, and full of potential.
This is where the real work happens.
Your sourdough starter has already done its job of bringing the culture—wild yeast and bacteria—into the dough. Bulk fermentation is where those microorganisms get comfortable and begin to act. They consume sugars, produce gas, develop flavor, and slowly build the structure that will eventually hold your loaf together.
If your starter is the engine, bulk fermentation is the road it travels.
And like any journey, two things matter more than anything else: temperature and time.
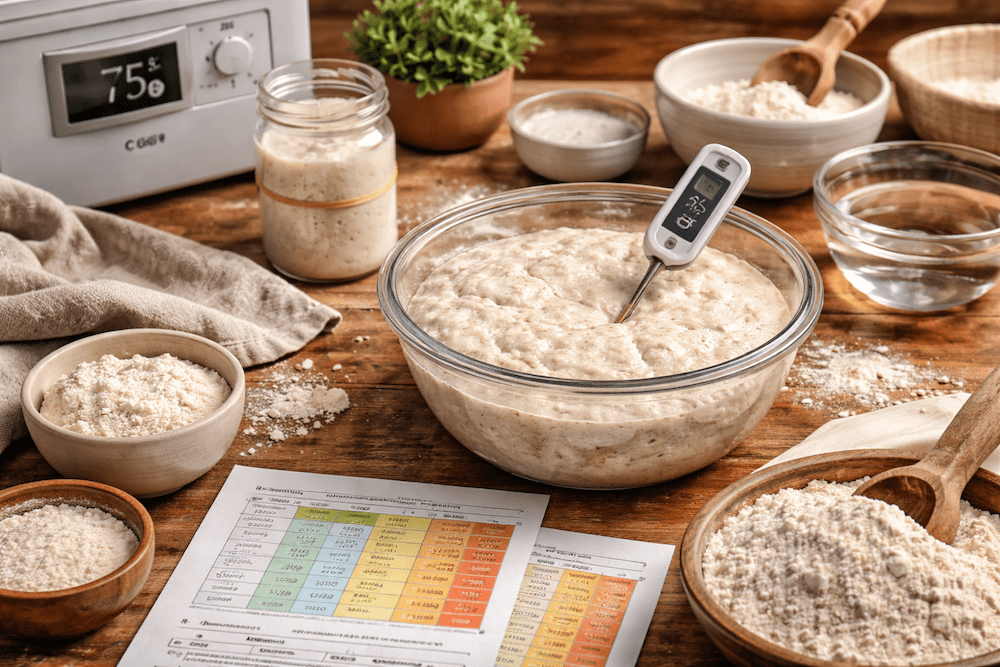
Temperature is the accelerator. Warmer dough ferments faster. Cooler dough slows everything down. That’s it. There’s no mystery, no hidden trick. A dough sitting in a cozy kitchen at 75°F will move along at a completely different pace than one resting in a chilly room at 65°F.
Time is simply the consequence of temperature.
You cannot talk about one without the other.
This is where many home bakers go wrong. They follow a recipe that says “bulk ferment for 4 hours” as if that number were carved in stone. It isn’t. That number only works under very specific conditions—conditions you likely don’t have unless you live in the author’s kitchen.
So instead of chasing time, you need to understand what time represents.
It represents progress.
And progress depends on temperature.
Now here’s the part I keep repeating—and I will keep repeating it because it matters more than anything else in sourdough baking:
A strong sourdough starter and a controlled bulk fermentation are the two pillars of good bread.
You can get away with average flour. You can improvise with equipment. You can even be a little careless with shaping. But if your starter is weak or your bulk fermentation is out of control, your bread will show it immediately.
Bulk fermentation is not something you “wait out.” It’s something you manage.
During this stage, your dough should gradually become smoother, more elastic, and slightly airy. It should feel alive under your hands. If you perform stretch-and-folds, you’ll notice it gaining strength with each round. It begins as a shaggy, reluctant mass and turns into something cohesive and responsive.
That transformation is your real clock.
Misjudge it, and things go sideways quickly.
If you cut bulk fermentation short—what we call underfermenting—the dough hasn’t had enough time to develop structure or gas. The result is dense, tight crumb, poor oven spring, and a loaf that feels heavy and unfinished. It may look acceptable on the outside, but inside it tells the truth.
On the other end, if you let it go too long—overfermenting—the dough starts to weaken. The gluten structure breaks down, the dough becomes overly slack, and it struggles to hold its shape. You might see excessive spreading, a flat loaf, or a crumb that looks uneven and fragile.
In both cases, the problem is not the recipe.
It’s the timing of bulk fermentation.
And timing is never just about the clock.
It’s about temperature, dough behavior, and paying attention.
You don’t need a laboratory or complicated formulas. What you need is consistency in your environment and awareness of what your dough is telling you.
A slightly warmer kitchen? Expect things to move faster.
A cool Vermont morning? Give it more time.
Same dough, same ingredients—completely different timelines.
That’s the reality of sourdough baking, whether people like it or not.
And once you accept that, bulk fermentation stops being confusing and starts becoming predictable.
Not because you memorized numbers, but because you understand the relationship between temperature and time—and how your dough responds to both.
Everything else builds on that.
How to determine over-under-fermentation
First things first: even if your loaf doesn’t come out looking like it belongs on the cover of a fancy baking book, you can still slice it, toast it, and enjoy it—unless, of course, you’ve created something that could double as a doorstop.
There’s a strange tendency online (and in quite a few books) to treat over- or underfermenting—also known as over- or under-proofing—as some kind of baking catastrophe. It isn’t. It’s part of the process. In fact, it’s one of the most effective teachers you’ll ever have.
Every slightly flat loaf, every overly tight crumb, every “what exactly happened here?” moment is just feedback from the dough. Not failure—just information you didn’t have five minutes earlier.

- Under-proofed: Large holes with section of dense dough at the bottom. Dough is dry, not elastic. Taste: Light aroma.
- Good proof: Even crumb with variety of hole sizes evenly spread. Dough is elastic. High volume.
- Over-proofed: Compact dough. Small holes. Dense crumb. Grows more in height than width. Dough is humid, elastic. Taste: VERY aromatic.
How to control bulk fermentation
There is no reliable mathematical model for this. Too many variables are at play, and your dough doesn’t care about tidy formulas.
What you do have are practical guidelines—and they revolve around a small set of factors. Temperature and the amount of sourdough starter are the two levers you control, and together they determine how long your bulk fermentation will take.
Side note: If we want to be technically precise, bulk fermentation begins the moment flour, water, and starter come together. It doesn’t magically stop when the dough goes into the fridge—it simply slows down to a crawl. Fermentation continues overnight, just at a much more relaxed pace, and only truly ends when the dough hits the heat of the oven.
That said, for all practical purposes, I treat “bulk fermentation time” as the window between mixing and putting the dough into the fridge. This is one of those moments where we politely acknowledge the science… and then proceed to do what actually works in a real kitchen.
The following charts—yes, despite my earlier condemnation, we are now using charts, but keep your expectations modest—are meant as simple guides, not sacred doctrine.
I didn’t derive them from lab-grade experiments. They are the result of gathering patterns from countless sources, testing what actually holds up, and trimming away the nonsense.
What they show is straightforward: the relationship between starter amount (as a percentage of total flour), temperature, and the resulting bulk fermentation time—defined here, as discussed, from mixing to refrigeration.
| Starter | Bulk Fermentation |
| 5 – 10% | 8 to 12 hours |
| 10 – 20% | 6 to 8 hours |
| 20 – 30% | 3 to 6 hours |
| 30 – 40% | 1 to 3 hours |
| Dough Temperature | Bulk Fermentation |
| 80F/27C | 5 to 6 hours |
| 75F/24C | 6.5 to 7.5 hours |
| 70F/21C | 11 to 12 hours |
| 65F/18C | 15 to 16 hourss |
In my thoroughly non-scientific approach, I usually aim for a dough temperature of about 75°F / 24°C. Under those conditions, bulk fermentation tends to land somewhere in the 6½ to 7½ hour range. From there, I simply choose a starter percentage that matches that window—typically around 10 to 20%.
And once again, these are guidelines, not commandments. If you drift a little outside those numbers, your dough won’t file a formal complaint.
Side note: in my case, I use a temperature-controlled proofing box—and it has been an absolute lifesaver. My kitchen temperature swings wildly with the seasons, which makes consistency nearly impossible without some help.
This has been the only major investment I’ve made in my baking setup, and it paid for itself quickly in the form of reliable, repeatable results instead of guesswork.
And while my investments have been more than moderate, there’s one thing I’d strongly recommend to anyone: get a simple food thermometer. Not for scientific precision—just as a reference point. It gives you a baseline so you can adjust your bulk fermentation with a bit more confidence.
The rule is refreshingly simple: warmer dough, shorter time. Cooler dough, longer time.
It’s a small habit, barely any extra effort, and it makes a noticeable difference in consistency.
On top of that, it helps to keep an eye on your room temperature as well—because baking in Alaska in the middle of winter is not quite the same as baking in Texas in the summer. Adjust your water temperature accordingly when mixing the dough, and you’ve already taken a big step toward keeping your process under control.
 The Perfect Loaf: The Craft and Science of Sourdough Breads, Sweets, and More: A Baking Book
Maurizio Leo’s blog The Perfect Loaf has become one of the most trusted destinations on the internet for anyone learning sourdough baking. With his debut cookbook, he brings that same careful attention to detail, clear instruction, and generous teaching style into a comprehensive guide that walks readers through the essential foundations of sourdough—while also giving them the tools and confidence to go further.
The book begins with the fundamentals: understanding sourdough starters, learning how fermentation shapes flavor and texture, and mastering the techniques that turn simple ingredients into consistently excellent bread. From there, Leo guides readers step by step through a wide range of recipes designed to build both skill and intuition.
The recipes cover many of the breads home bakers love most, including:
Essential freeform loaves: Simple Sourdough, Rosemary & Olive Oil Sourdough, Extra-Sour Sourdough, Cranberry & Walnut, Demi Baguettes
Pan loaves: Everyday Sandwich Bread, Naturally Leavened Brioche, German Whole Rye, Honey Whole Wheat Sandwich Bread
Pizza and flatbread: Roman-Style Pan Pizza, Focaccia, Naan, Flour Tortillas, Pita
Buns and rolls: Soft Dinner Rolls, Potato Buns, Ciabatta Rolls, English Muffins, Bagels
Sweet bakes: Weekend Cinnamon Rolls, Italian Doughnuts, Summer Fruit Sourdough Crostata, Banana Bread, Cinnamon Babka
True to Leo’s teaching philosophy, beginners are supported throughout the entire process. Troubleshooting sections and helpful sidebars address common questions such as how to store a sourdough starter long-term, how to work with baker’s percentages, and how to recognize—and fix—common bread problems.
At the same time, experienced bakers will appreciate the deeper explorations into fermentation science, dough development, and the subtle adjustments that allow bakers to refine their technique. Topics such as hydration, ingredient ratios, freshly milled grains, and specialty flours encourage readers to experiment and gradually develop their own “baker’s intuition.”
Whether you are baking your first loaf or refining your craft, The Perfect Loaf serves as both a practical handbook and an inspiring companion in the kitchen. More information…